We have been having so much fun in kindergarten. I am so excited about the progress my kids are making. We have been working really hard on learning our sight words. I thought I would share some of the fun things that we have been doing.
One of my teammates told me about this awesome activity! She gives one kid a new name per day. Their new name is a sight word. All the kids have to call them by that name for the entire day. Today I tried it. This little guy was named "with" all day. The kids had SO MUCH FUN! At the end of the day...this sweetie came up to me and said, "Thanks for making learning in our class so much fun!" This is EXACTLY what I needed to hear today. I try to make my kids have fun while they are learning every.single.day.
With permission from a parent of one of my students I am going to share the next activity that we just finished in our class. I LOVE, LOVE, LOVE getting new ideas from teachers, blogs, FB, Instagram and from friends. I truly believe that social media has changed who I am as a teacher because so many wonderful people that I have never met are willing to share their fantastic ideas. This sweet little girl's mom emailed me with THE best idea ever. Our PLC goal is to have our kids learn all 50 of their sight words by the end of the year. I was scared about this in the beginning of the year. Most of my kids came in knowing 0 words, and about half of their letters and sounds. I am happy to say that in November about 10 of my kids know 40 sight words already. About 10 of them know 28-39 words. We have been working hard. They should be so proud of themselves. The idea below is from a wonderful parent in my class. I took it one step further thanks to the help from one of our Digital Learning Coaches.
My parent showed me a picture that she found of each kid holding up a sight word. Originally I took a picture of each kid holding our sight words on a big piece of construction paper. I am going to print these off and hang them in our room.
After talking to our DLC, she was so awesome and helped me create a book with pictures of the kids holding the words on our iPads. I am going to walk through the steps of the process that we used in case you want to try it. We used the Book Creator app.
1. First you will select that you are going to create a new book. You pick the size that you want. I have been using the landscape size with all the books that I have created so far.
2. You will then see a + sign in the upper right hand corner. I clicked on this.
3. I was then able to add text for my title. (I forgot to take a picture of this screen). You will then click on the arrow on the right hand side of the screen to get a new, blank page. You will then click on the + sign in the upper right hand corner again. I then selected the camera picture.
4. Our DLC took a picture with the iPads with the kids holding a sight word. She clicked on the arrow and then a new page came up. She repeated these steps 50 times so that there was a new picture with a new word on each page.
5. Once the pictures were in the book, she shared it with all of my iPads so that all of the kids could see the book. I then had my kids go into Google Drive and open their book. They went to the first page and saw the first word.
6. Once they saw the word (and I verbally told them what it was if they didn't know it) they recorded their voice saying the word. To do this, they clicked on the + sign in the top right hand corner. They then selected add sound.
7. Once they saw the round button, they clicked it.
8. When they saw the box, they recorded their voice saying the word.
9. After saying the word, they immediately clicked the box so the circle came back. They selected YES...saying they wanted to use their sound.
10. A little sound icon came on their screen, They were able to move it to a place on the screen and were able to listen to their voice saying the word.
Here we are doing this process as a large group. Each pair of kids had their iPad. They put the screens down on their laps as they listened to the word as I said it. When it was time for them to record their word, they flipped their iPad up and recorded the word and then flipped their screen down until they heard the next word.
1. They found the word that I had displayed on the Smart board.
After making sure they had the same word on their iPad, they recorded the word. They selected, add sound.
They hit the record button.
When they saw the box, they recorded their word and then hit the box again. Once they saw the circle, they knew they were done recording.
They clicked YES to keep the sound.
They then saw a little icon on the screen and were able to play the word back. It was a long process but now they have a book with their pictures of them holding the sight words with their recorded voices saying the words.
In the afternoon we did center rotations with mostly sight word activities.
Our iPad books were in one of the rotations. The kids opened the book and listened to each of the sight words that they recorded.
Kids love doing our HOT DOT center. They are able to take a wand and select their answer. It tells them if they are right or wrong.
We practiced writing our sight words with marker on mats that I laminated.
We used Wiki Sticks to make our sight words.
We also used beads and used fine motor tongs to make our sight words.
We constructed letters out of wood pieces.
This is one of my new favorite activities. I found these little pouches at Companies to Classrooms. It's a place that allows teachers to pick out free things for their classrooms. All the things at Companies to Classrooms have been donated by businesses for teachers.
I put our sight words into the clear pocket on the front. Inside the Velcro pouch I put some letter tiles. The kids had to spell their word with the tiles and write it on their paper. On the back side of the pouch there is a pencil holder. The kids take their paper and pouch and walk around the room and find their word on the walls or in books. Each time they find the word, they make a tally mark.
At another center we have SNAPWORD cards. I have already said how much my kids love these cards in a previous post. It's amazing how fast they learn these words.
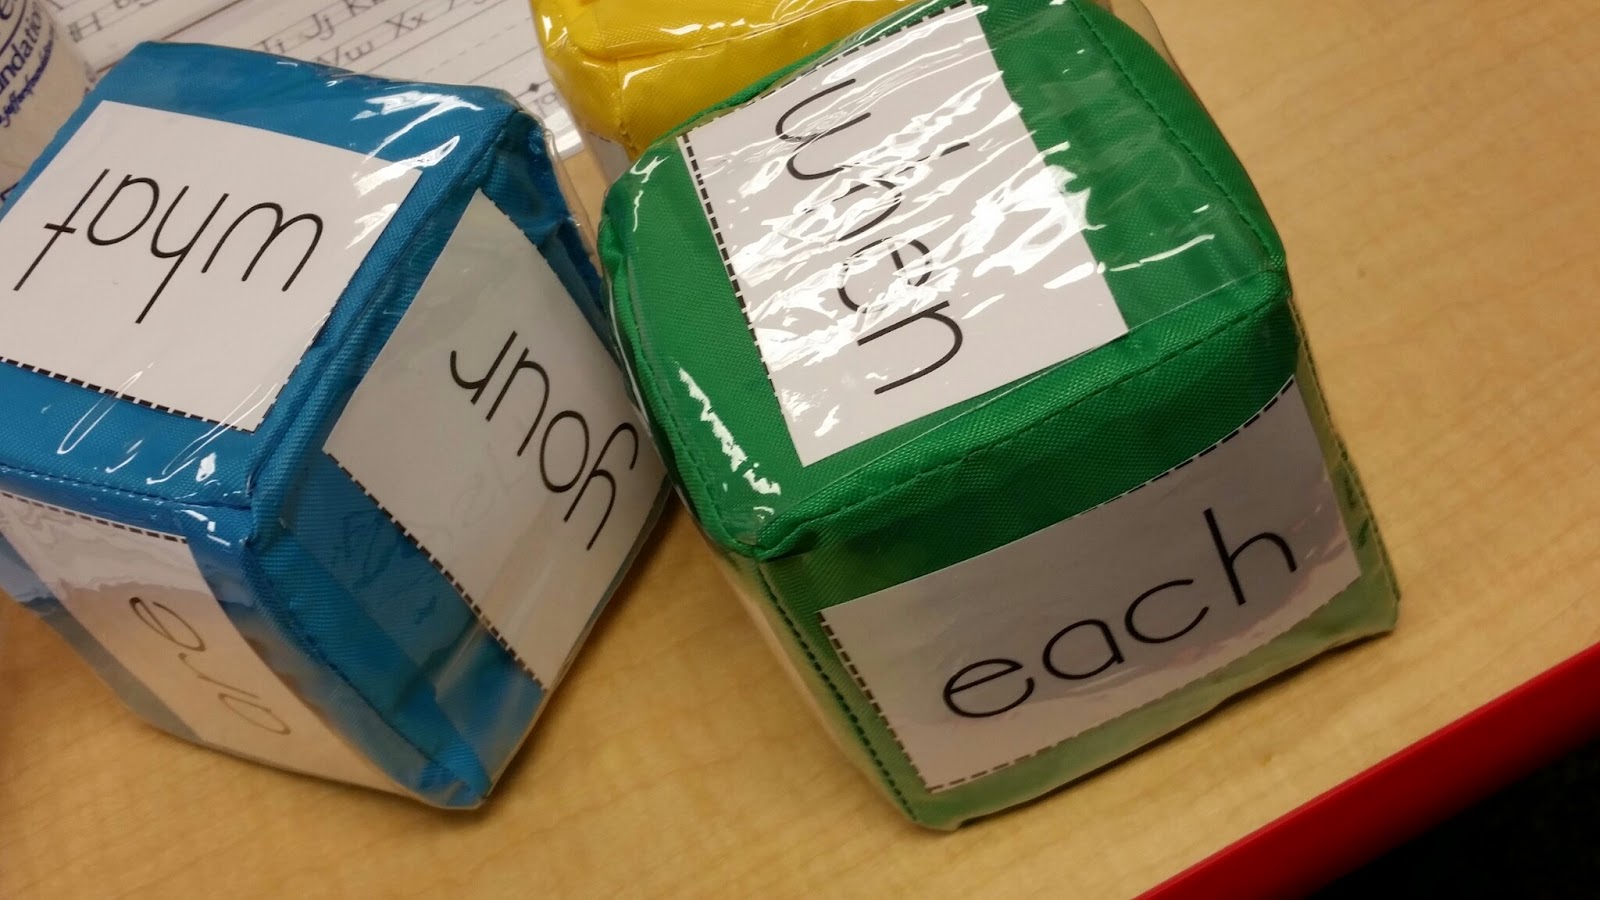
Finally, I have these Differentiation Cubes. I want more of them! They are so fun to use. I put sight words in each one. The kids will roll the dice and tally how many times they rolled each word.
I'd love to hear your wonderful ideas of things that you do in your classroom to practice sight words.
Sara