

I decided to have a "Racing Theme" for our Open House night. I called it "Racing into Kindergarten". All year we are going to be racing to achieve big things.
As I was looking at Pinterest I saw this cute idea. Twinkle, Twinkle Little Star Poem. One of my teammates used it as her board too. When I originally saw it I started thinking of ways that I could use it. I was going to use it as a Welcoming Board for Open House Night but I also wanted to incorporate our Hopes and Dreams into it.

This is what evolved after a week of tedious work. Sometimes I get so frustrated with myself because when I do a project, I don't just do it. I keep adding more and more to it and it takes more time that I thought it would.


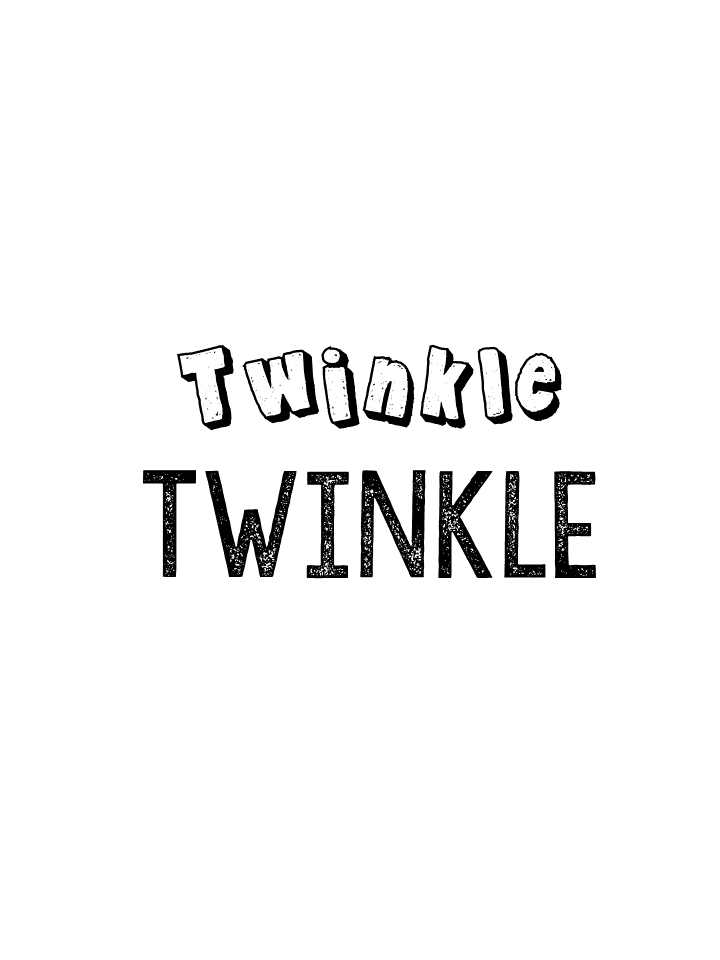
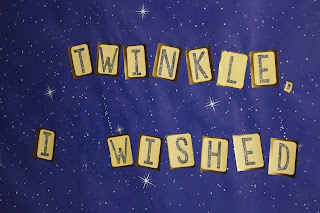
I found a font that I wanted to use. I love Kimberly Geswein Fonts. I originally started with the top font. I wanted the letters to look like the were stars with a little dimension to them. I typed up the words and cut the letters out. Then I decided I didn't like them as much as I thought I would...so back to the drawing board. I ended up with the bottom font. I loved how it looked like it sparkled. I re-printed out the words and cut the letters out again. As if trying to get everything in my room done wasn't enough...I decided to add glitter to all the letters. It took another day for them to dry. I then asked my hubby if he would help me trim out the letters. I'm positive he wasn't happy about that, but I was under time constraints.
They turned out cute after I mounted them on yellow paper and used a corner trimmer on the squares. The final step was mounting them onto gold card stock.
My next task was finding the right people for our board. I wanted the kids to look like they were holding a star. I searched and searched on Teachers Pay Teachers and could not find anything I liked. I reached out on Facebook and asked if anyone knew of any clip art out there that matched what I was looking for. I was soooo excited when Jenny sent me these silhouette people. She completely amazes me. Not only does she create fun songs for teachers to use in their classroom, but she can make some pretty awesome clip art as well! You need to check her site out if you haven't already. I have most of her music and my kids LOVE it. They remember skills I want them to remember because of these songs. Miss Jenny and Edutunes.

After copying the people on black paper, I cut them out and attached a star to their hands.

During our Open House Night, I had my parents write their Hopes and Dreams/Wishes for their child on a star. These will be added to our display. I am going to write my kids dreams on their stars that they are holding.
When my families came to school they were able to see their child's name up on a display outside my classroom. It was a place where they could take pictures of their kid.


The table right in front of my room had their task sheet for the night. I also had my "Wish List" items out and a thank you to my parents.

I filled a vase with rocks to make it appear like a stoplight.


I am lucky to have so many wonderful parents/families in my room. It takes a team to teach the kids in my class and parents are a big part of that.


I always do some kind of "Wish List" of items that we use in our classroom.

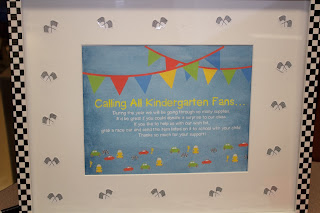

Parents were able to grab our brochure with info about the first day of school. I also had our task sheet out for them to grab.


When inside the room my kids and their parents went to 6 different PIT STOPS in any order. At Pit Stop 1 I had my information on a business car and I had QR codes to all our social media sites. I had parents write their names on a piece of paper. I will be laying these out when we have conferences, Parent Information Night, Author's Tea, etc. I try really hard to remember everybody's name, but sometimes I forget them. I also feel like this will give them an opportunity to know each other's names and which parents belong to each child.


At Pit Stop 2, I had parents sign my permission form for using pictures of our social media sites. This is also where I had them write on the star with their wishes for their child.

At Pit Stop 3, I had kids introduce themselves to me and had them tell me how they were going to be going home on the first day of school. I also collected our supply money here. In our school kindergarten teachers collect money and then buy all the school supplies that we will use in our classroom.


At Pit Stop 4, kids had to grab their lunch number off of the clipboard on their locker. I then had parents write their child's PIN number on a wrist band. I instructed them to put a wrist band on their child's wrist in the morning...every day until they remember their lunch number. They need to know this number when they go through the lunch line. Being in the lunchroom is scary enough the first few days. I am hoping this helps them enter their number into the keypad.


At Pit Stop 5, I had parents fill out an information sheet about their child. I have sent these home in the past, but rarely get them back. I was able to read them and feel like I already know about some of my kids learning styles and interests.

At Pit Stop 6, I gave kids instructions to tour the classroom.


I meant to take a lot more pictures, but was talking the entire time that kids were coming to Open House. I only got a few.


My kids left for the night with a little gift from me.
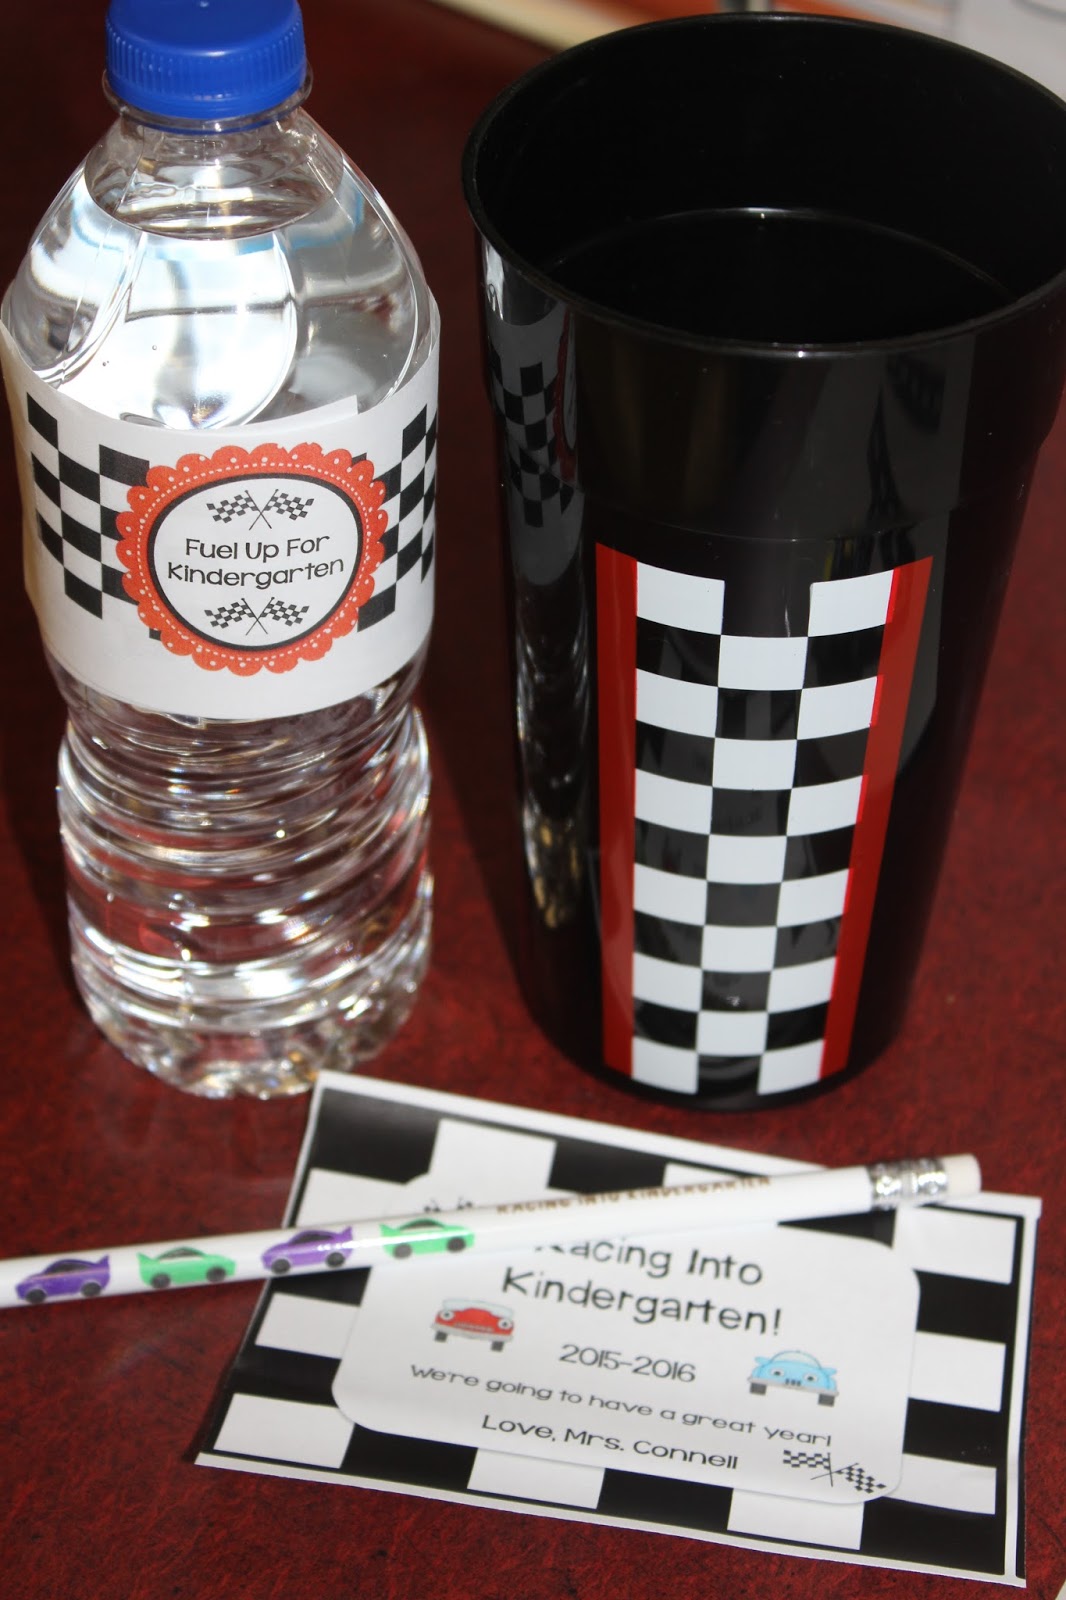
The name tags that were hanging in the hall will be going home with each child. In their cup they received an eraser car. They will be able to race the car up and down their name. I recently saw this on FB but I am not sure who to credit for it.

Overall, it was a great night! I am so excited to work with me kids this week. I am going to miss sleeping until noon every day, but I love what I do, so it makes it so much easier to get up every morning. :)
I hope you are all having a great Labor Day weekend.
Sara


